.Disclosure: The post below contains affiliate links. This means that, at zero cost to you, I will earn an affiliate commission if you click through the link and finalize a purchase
The Basics
Once everyone is geared up its time to practice moving around in those ski boots. Everyone who’s skied knows walking in ski boots is very different than walking in shoes. When I was an instructor we used to play a quick game of duck duck goose with the kids in their first day lessons to get them more comfortable moving. As a parent I don’t have a group big enough to play so just walk, play tag, jump around and just get them comfortable moving.
Once they’re comfortable in their boots it’s time to start. You can start at the top of the bunny hill or walk up a bit and start small. It’s up to you, stick to what you’re comfortable with. When you get to your drop point it’s time to put their skis on. This is what you are going to want to teach your child and remember, you’re just out here to have some fun with your kids. If they make progress great, if not try again next time.
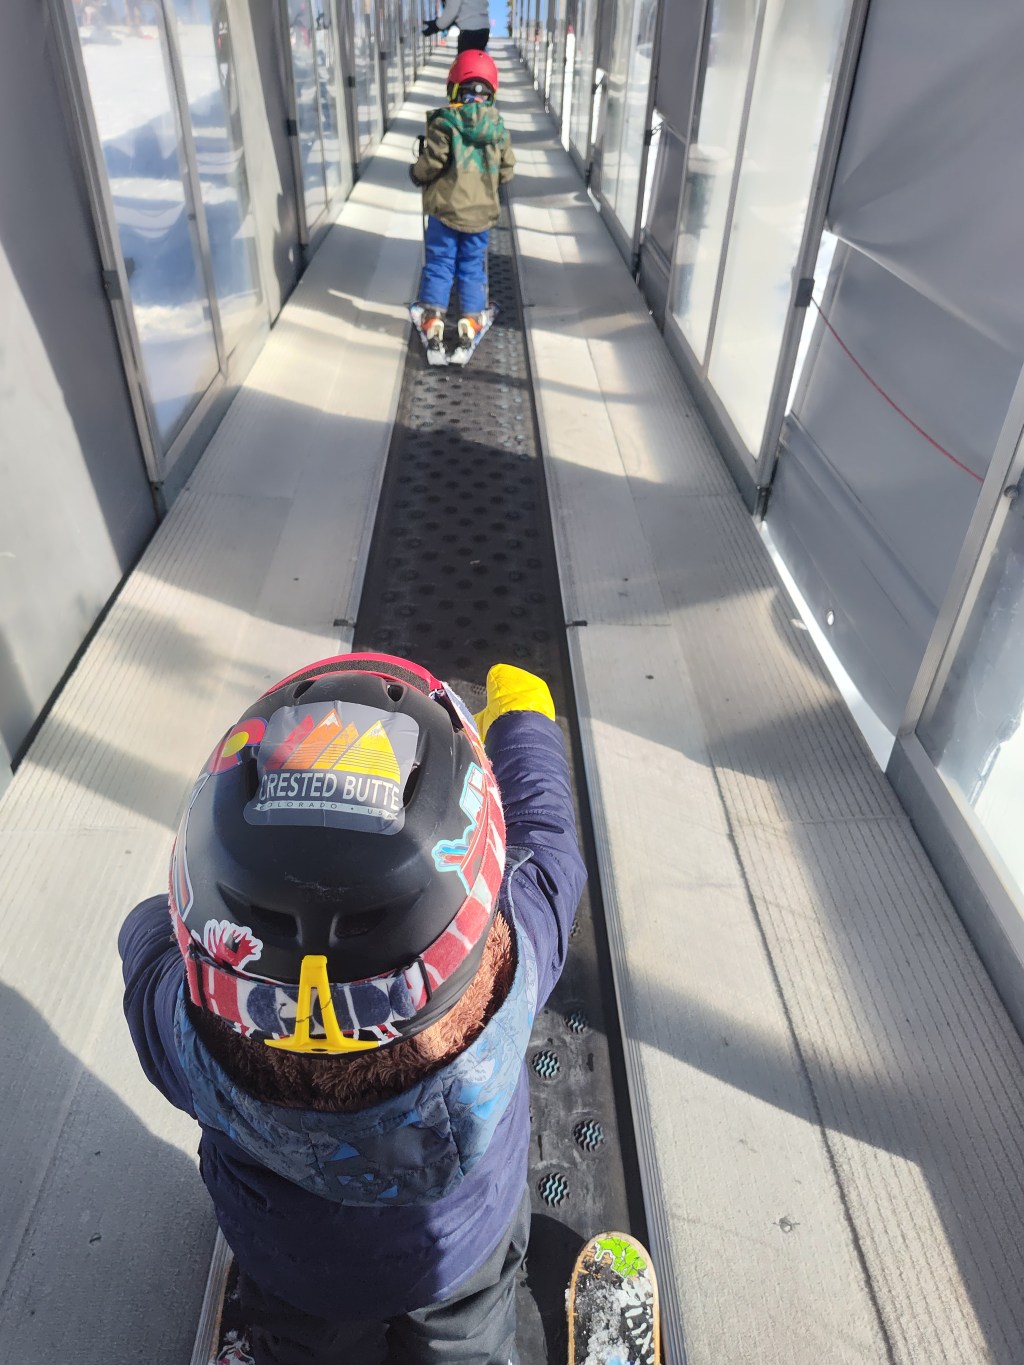
Riding the lift can be tough with little ones a magic carpet lift is perfect for a first time skier, even though its bad for the wax on your skis. I usually leave my skis at the top and walk up and down the bunny hill. This way I can help my kids onto the lift and stand with them right in front of me so I can support them when they decide to fall over. Talk to the liftie if you need help getting on or off, they’re always super helpful.
Step 1 – Straight Shot: Stand or ski backward if capable in front of your child and let them slide into your arms, straighten them out, and do it again. Catch them every few feet and watch their stance. As an adult generally your proper ski stance is shoulders over knees over toes, butt over heels/bindings. This is because your center of mass is near your belly button and is the best way to maintain balance. A young child has a higher center of mass, they are more top heavy, a child will be standing in positions you may never be able to ski in with their hips way back and their head above their knees and toes. This is just how they keep balanced and there’s nothing you should do about it, your child will grow out of it in a few years. Once your child can slide into your arms it’s time to work on stopping.
Step 2 – Stopping: At this point, most kids won’t be able to hold a pizza and even more are barely making it down to you without without falling over. This is where the Edgie Wedgie I discussed in the previous post comes into use. If you don’t have one your kids can still learn but if they are under 6 I’d highly recommend using it.
Learning the Pizza Stop:
- Prepare the Pizza: Practice making the Pizza. Hold your child’s ski tips and have them practice pushing out their feet to form a pizza slice. You’re holding their tips to show them how it feels and what it should look like. If you’re using an edgie wedgie you can skip holding their tips and just let them try with it on. You can turn this into a game by asking them to make you a baby’s pizza then a dad’s pizza or a grandma’s pizza or any other way to get them to change the size of their pizza.
- Deliver the Pizza: Slow down and hopefully stop. It’s time to practice while moving. Just like before, either stand in front of them or ski backward and have your child slide to you. When you’re ready for them to stop start telling them to pizza. The goal here is for them to just make a pizza while sliding. To make this part into a game just order different pizzas with different toppings or just order a size of pizza then ask them what they put on it once they deliver it to you. With the edgie wedgie even my two-year-old picked this up in a day and we were able to play some exciting games of red light, green light before the lifts closed.
When teaching your kids to stop it may be helpful to explain how the edges of the skis are what does the stopping. Show them that when they bend their knees so that the edges dig in they will stop. Pretending that the big toes are buttons and you have to push super hard on both buttons to stop sometimes helps. Other times, just telling them to make the pizza bigger helps them to stop as well. Sometimes a kid just can’t make a pizza, they just prefer to do splits all the time. If this is the case with your child and they’ve been doing it all day there are only two options; keep up the practice on the next trip or take the crutch and use the edgie wedgie. I will talk about methods of removing the edgie wedgie later so there’s no need to worry about them becoming reliant on it. Before moving on to the next step make sure your child can at least side down while holding the pizza, turning will help kids struggling with stopping.
Step 3 – Turning: Before you start teaching your kids how to turn I want to make sure you know why skis are shaped the way they are. This is something I used to explain to older kids but younger kids don’t normally care. Each pair of skis has a radius, this means if you took the side cut of the ski and continued it, it would make a complete circle with the specific radius of that ski. This matters with skiing because all you need to turn is the edge of those skis, that’s it no turning feet, no moving the upper body, no flailing around all your child needs to focus on is what’s in front of them and their feet.
The button method I mentioned earlier is my favorite way to teach turning. Tell your kids that each ski is an arrow, the right ski is pointing left and the left ski is pointing right. These arrows are how you pick which way to go, push the button under your big toe in your left boot (right-pointing arrow) and you’ll start to turn right, then the same for the right foot.
If the button method doesn’t work you can try having them pick up on their pinkie toes while hitting the button. This should force them to bend their foot in a way that the inside edge of the ski begins to dig into the snow causing them to turn. If this still doesn’t work then you can try having them lean and put all their body weight on the foot they want to turn with. This last way is not a good method of turning but will give your kid a much-needed confidence boost if they’re having a tough time.
Next post I’ll be talking about linking turns, hocky stops and more.

Leave a comment